January 15th: Fun projects!

kindness quilt patches

Today, I am grateful for the amazing activity I got to engage my students in!

Part of my role as the school’s guidance counselor is create activities that promote character education.  Our school district has assigned a character trait for each month of the school year so I have created activities and fun projects that correspond to these traits.

January’s character trait is “Kindness”.  I decided that it would be great to have the students use fabric markers to decorate patches of fabric by writing or drawing what kindness meant to them.  I will be piecing these patches together and creating a “Kindness Quilt” for display at the end of the month’s Student of the Month ceremony.

Above are just 4 of the 50+ patches that were created today by the students.  I will be sewing the quilt and posting more pictures and ideas as I work on it in the Craft (Peace) section of the blog!

Bodacious Bulletin Boards!

This is only my second year working at a school and I must say that there are aspects of it that make it an ideal career move for me. I love the simplicity and affection of the children, I love the schedule, I love to feel that I’m making an impact in people’s lives and I LOVE the creativity it allows.

When the principal put me in charge of the bulletin board by the front office last year, I semi-panicked. I’d never created a bulletin board before and had no idea where to begin. I think the most difficult thing for me to master was proportion. Once I grasped the space I was working with and the size images I needed to create for it, I have gone nuts with all sorts of fun sayings and themes.

Here are some fun ones I made last year for Honor Roll each quarter. I used the seasons for inspiration.

This year, I’ve decided to change the bulletin more frequently, not just after report cards are issued. Here’s one I made welcoming kids back to school at the beginning of the year:

Welcome Back

One for September which is “National Attendance Awareness Month”:

Attendance Awareness

And my latest creation for October which is when we celebrate “Red Ribbon Week”:

Red Ribbon Week

Fun, huh? What kinds of fun projects do you do at your work? If you’re a teacher or work at a school in any capacity, please share your bulletin board pictures!! I love ‘em!

Crocodile Rockin’: Fun “Crocodile Stitch” Accented Scarf

1384873_760121274004483_545475670_n

Its cold weather season!  Time to whip out the home-made scarves and hats or start going through your yarn stash to make one!

Any of you modern crocheters out there who have surfed crochet websites or searched for patterns on Etsy lately have become aware of the new “Crocodile Stich” trend. When I first saw the stitch online I thought it looked waaay too complicated for someone like me who is only intermediately skilled. I thought I’d give it a try, though, and bought a pattern from BonitaPatterns on http://www.etsy.com. (BonitaPatters has its own web site, http://www.bonitapatters.com, that you can buy directly from) To my surprise, I picked it up rather quickly. I’m a visual learner and appreciate clarity and simplicity. Her photos and instructions made it pretty easy to understand.

Now that I know how to do the Crocodile Stitch (named this because of the scale-like effect the yarn takes) I’ve been trying to come up with new ways to incorporate it into different projects. I like to add it as an accent to larger pieces or limit it to smaller projects because it does consume a lot of yarn and, although it is not difficult, it is a little more time consuming than basic stitches. (I’m a bit impatient like to move on to new projects rather quickly. I admit to getting bored if I don’t get the gratification of admiring my finished product after long.)

Here is a crocheted scarf I made for myself with Crocodile Stitch fringe on each end. This was made with Lion Brand, Vanna’s Choice in Linen. It took about 2 skeins of yarn and one leisurely week of working on it off and on.

Materials:
2 skeins of 4 ply yarn
Size G crochet Hook

Instructions:
1. Chain 24
2. Chain three in 4th chain from hook and V-stitch in every 3rd chain thereafter until you reach the end.
3. On this row of V-stitches (you should have 8 in total), create your first 4 “scales” of crocodile stitch.
4. Chain up 3
5. Create 2nd row of V-stiches
6. Crochet 3 “scales” between the first 4 you created.
Follow steps 2-6 until you have created 7 rows of “scales” beginning and ending with 4 scales. (4,3,4,3,4,3,4)

Use this tutorial on-line for specifics on how to master this stitch.

http://www.youtube.com/watch?v=_MMPLqDMUuA

7. Chain up 3
8. Double crochet in each chain across. You should have 24 double crochet when finished with this row.
9. Repeat #7 and #8 until you have reached your desired length for half of the scarf. I made 60 rows of double crochet.
10. Fasten off.
Repeat to create two “halves” of the scarf.

Finishing:
1. With right sides together, slip stitch halves together in the center of the scarf.

913270_760180850665192_209491055_n
2. Weave in loose ends.

***Note:  When I saw how quickly and easily the project came together, I made two more scarves as gifts.  This time, they were intended for children so I used brighter, more vibrant colors.  I simply switched yarn colors after the crocodile stitch was complete and moved on to the double crochet.

I then added a neat little accent around the circumference of these to tie the project all together. Once you have pieced both side of the scarf together, simply slip stitch around the body of the scarf with the accent yarn you used for the crocodile fringe…. Cute huh?!

Creative Inspiration: My Mom xoxo

me and mom

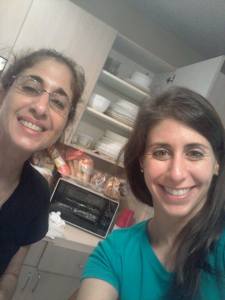
(Mom and I making cookies at her place)

My parents were pretty strict with us. By some people’s measure, it could be said that they were down-right controlling. There wasn’t a whole lot of wiggle-room for personal preference when it came to how we dressed or how clean we kept our rooms. There were some pretty clear guidelines on the types of grades we needed to get in school and the kind of company we could keep as well. This was, of course, their attempt to keep us on the straight and narrow. And for all intended purposes, it worked. Both my sister and I are educated, reasonably successful and law-abiding citizens.

That being said, however, when it came to us expressing our creativity through artistic projects, they made sure that our universe was limitless. We were not only given free rein to do almost anything, but were encouraged to do so. This was freedom…this is how we shined.

Thinking back on it as an adult, I question whether or not I would allow my own kids to do the sorts of projects I did independently… I remember sewing my dolls clothes with my mom’s Singer and baking cookies on my own while she cleaned the house. I also remember sitting at the work bench in the garage for hours creating who-knows-what with bits of wood, paint and a very hot glue gun without any type of supervision. I am happy to report that I still have all 10 fingers and am free of any permanent burn marks or scars but… I wouldn’t risk it with my own kids if I were to ever have any. (OK, ok, so “who’s the control freak now?” I get it… )

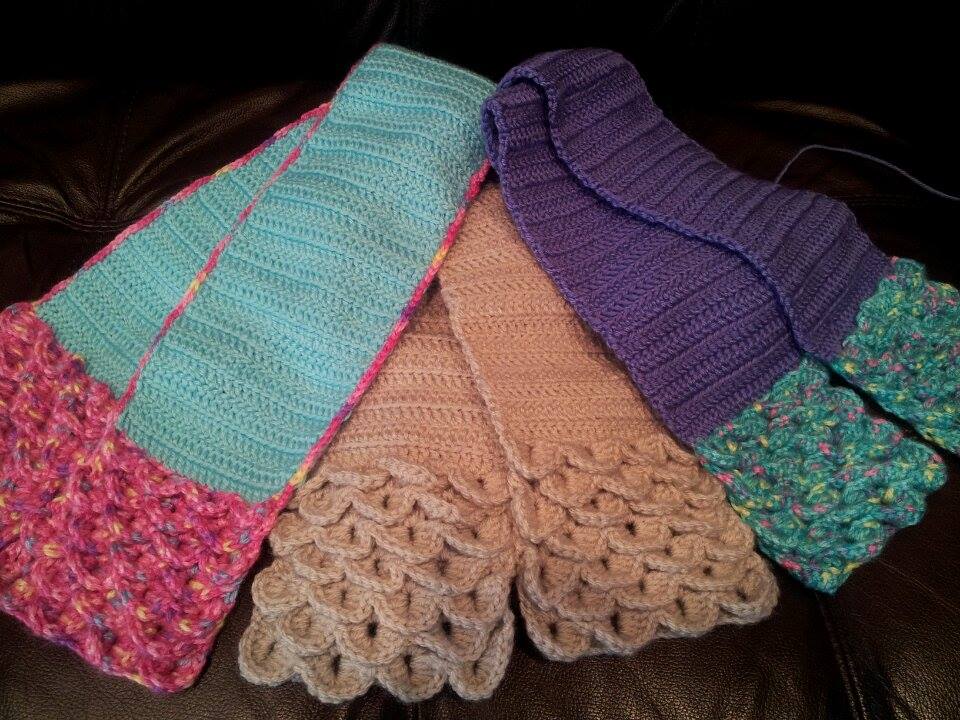
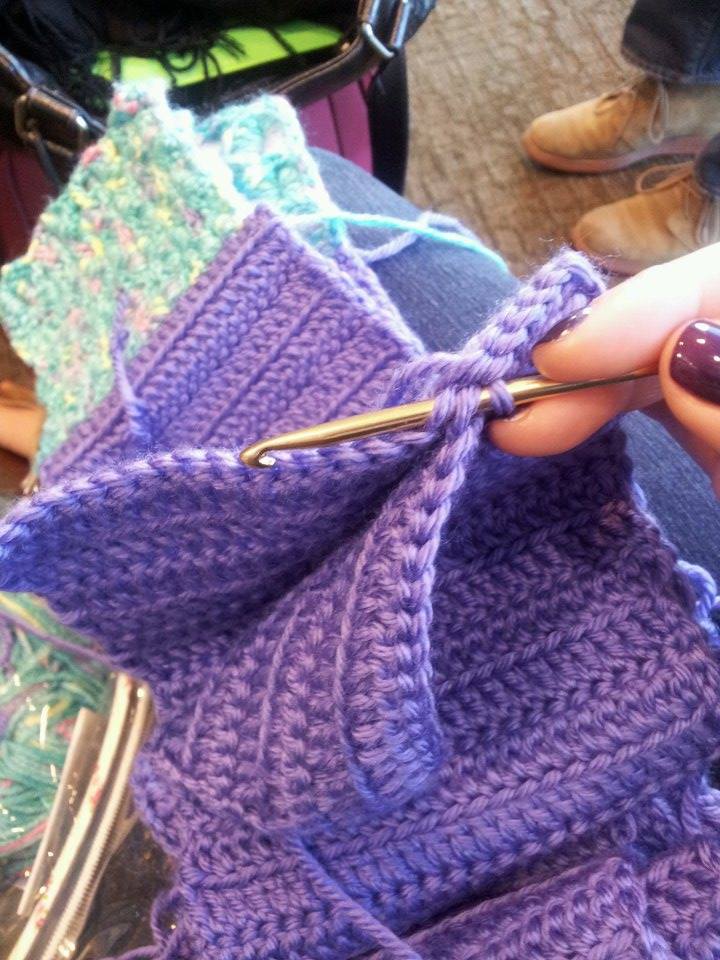
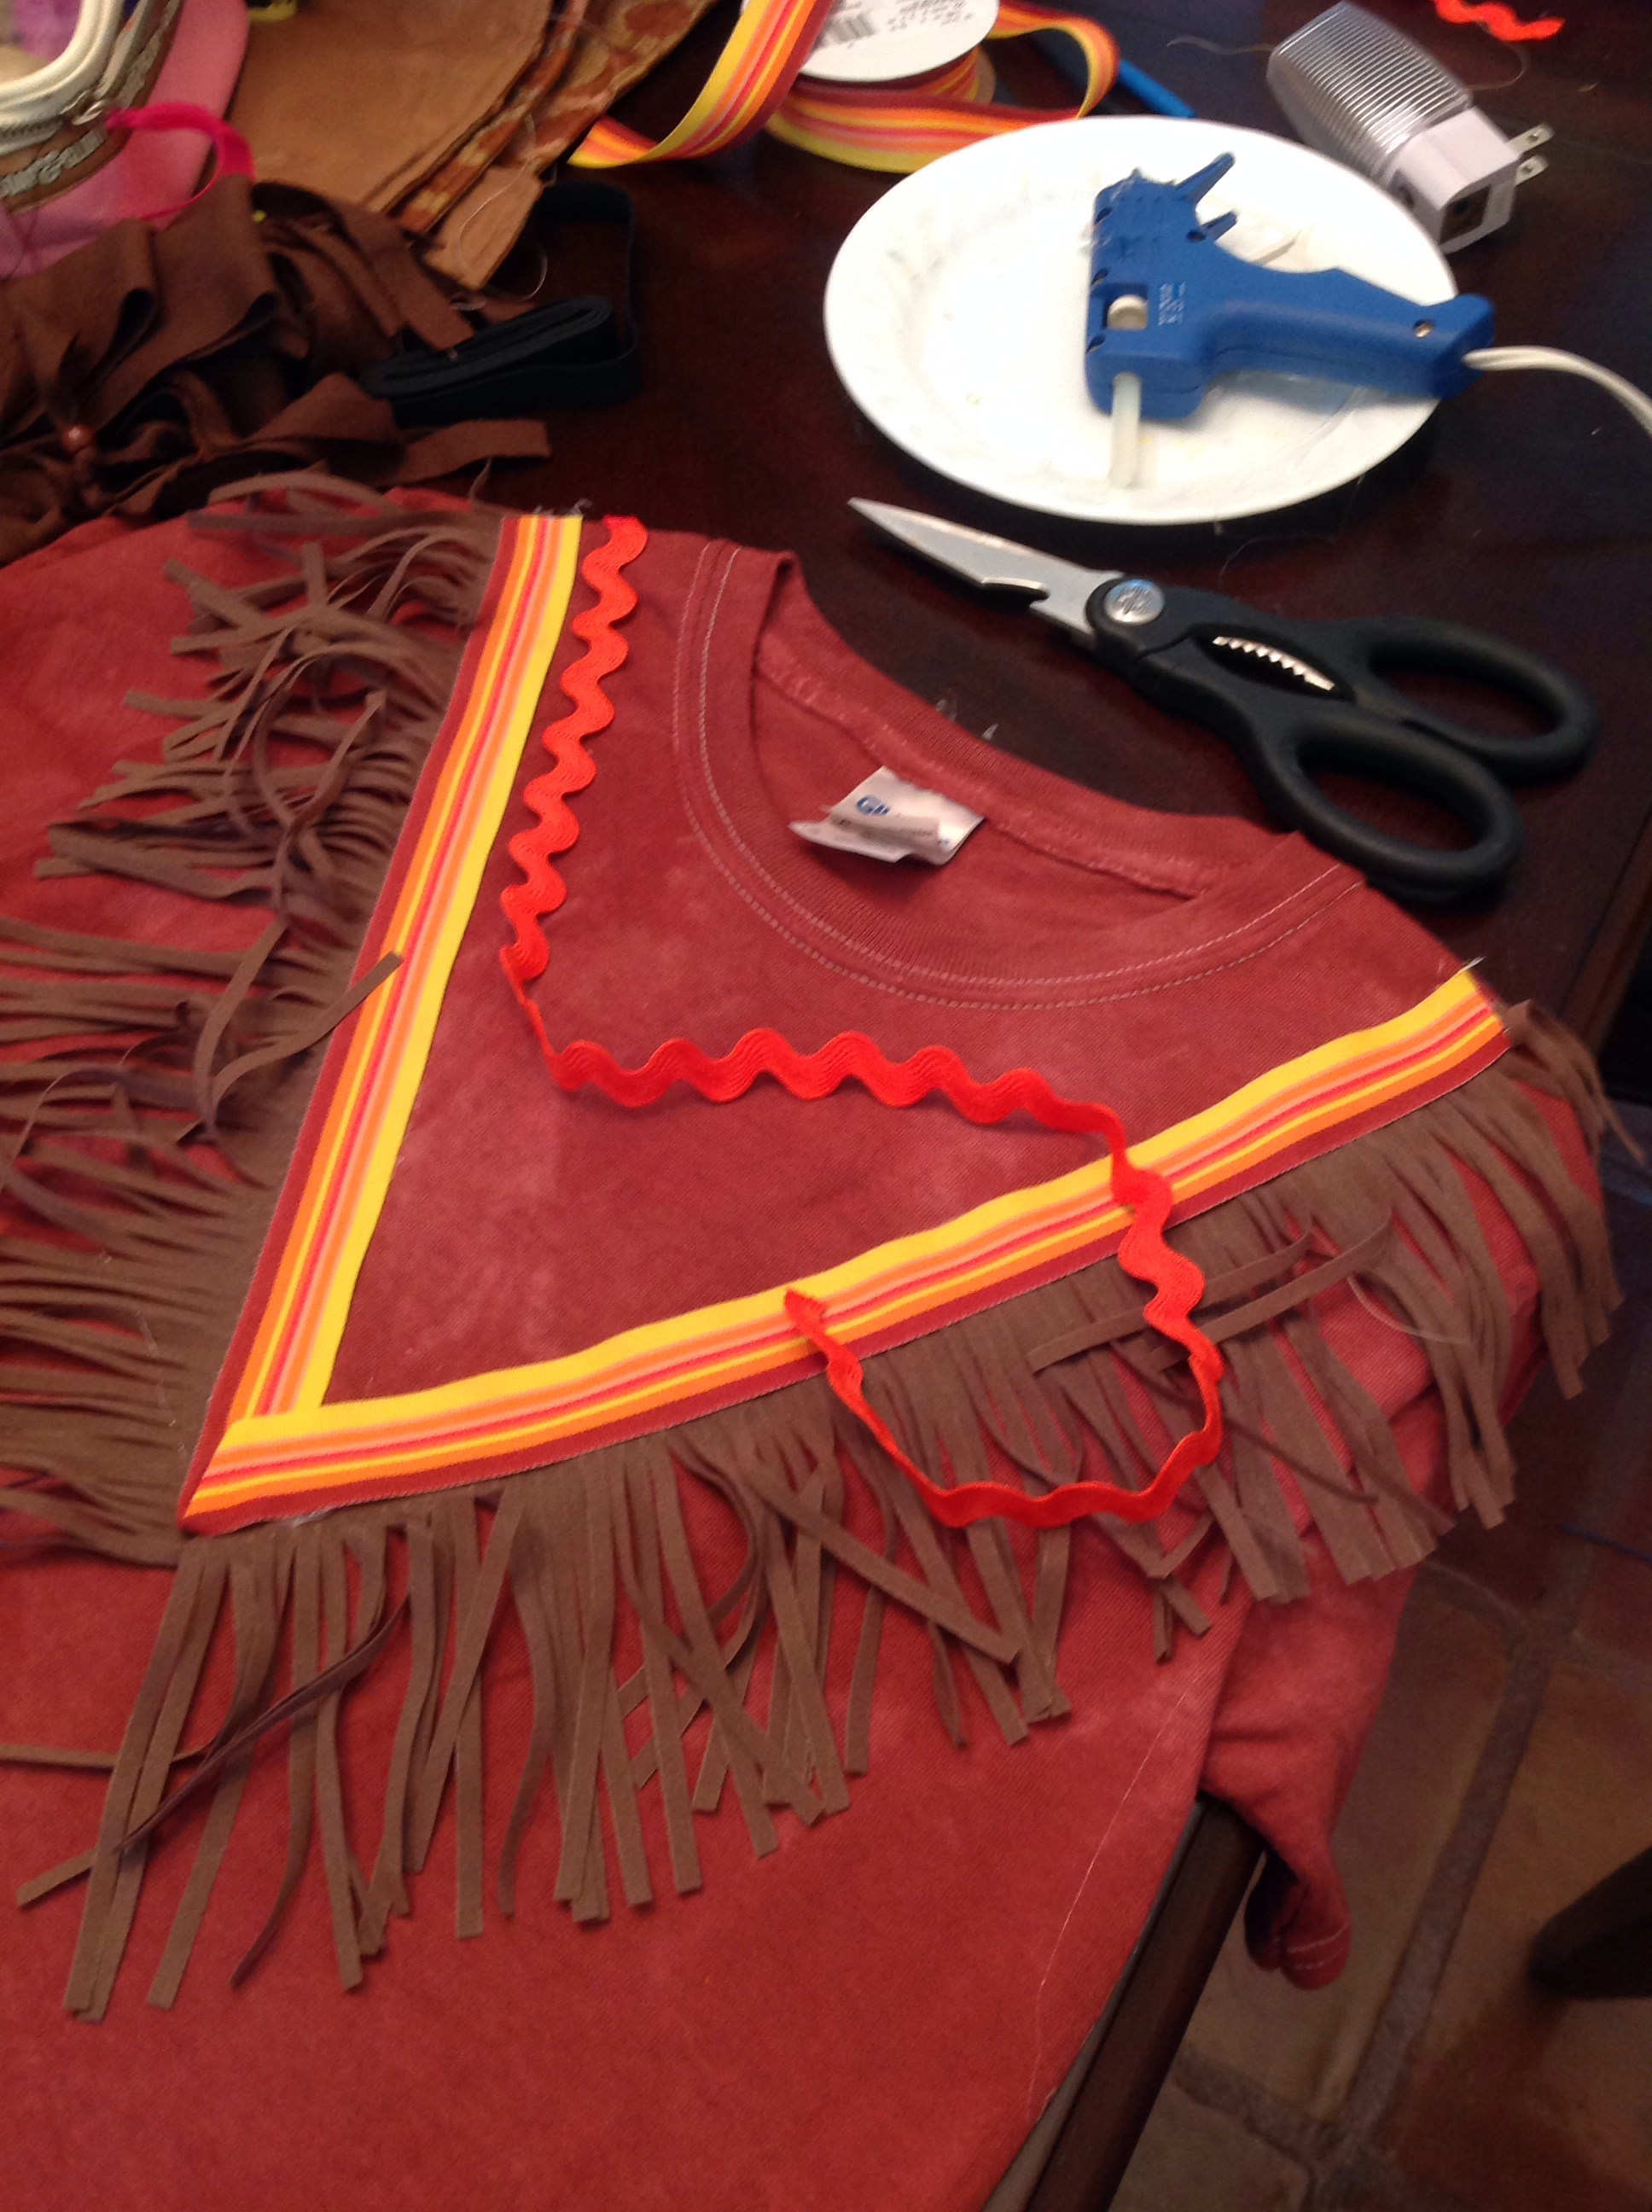
Ever since I can remember, my mom has been the queen of creativity. When my sister and I were little, she made toys for us out of felt, sewed us dresses and Halloween costumes, baked us cupcakes to take to our friends at school, pickled the vegetables she had grown in our backyard, crocheted us afghans, hats and scarves and prepared the most comforting dinners… all while looking stunningly beautiful in her totally 80’s blue eye shadow and awesome permed hair-do, of course.

As if having the most beautiful, loving, culinarily-talented and crafty mom in the whole universe wasn’t good enough, she was a willing teacher as well. The best part was that, although she was teaching me a skill she had already mastered, most of the things I remember us doing together were experimental to her. Although she knew how to crochet, the stitch was new to her. Although she was a great cook, the cake or cookie recipe was new to her. Although she was a great seamstress, the pattern was new to her. Seeing my mother giggle at her own mistakes and curiously try different ways to create something always filled me with wonder and the desire to do the same.

The projects were inspired by us and she inspired us by making them with us. What could be a better life lesson or expression of love?

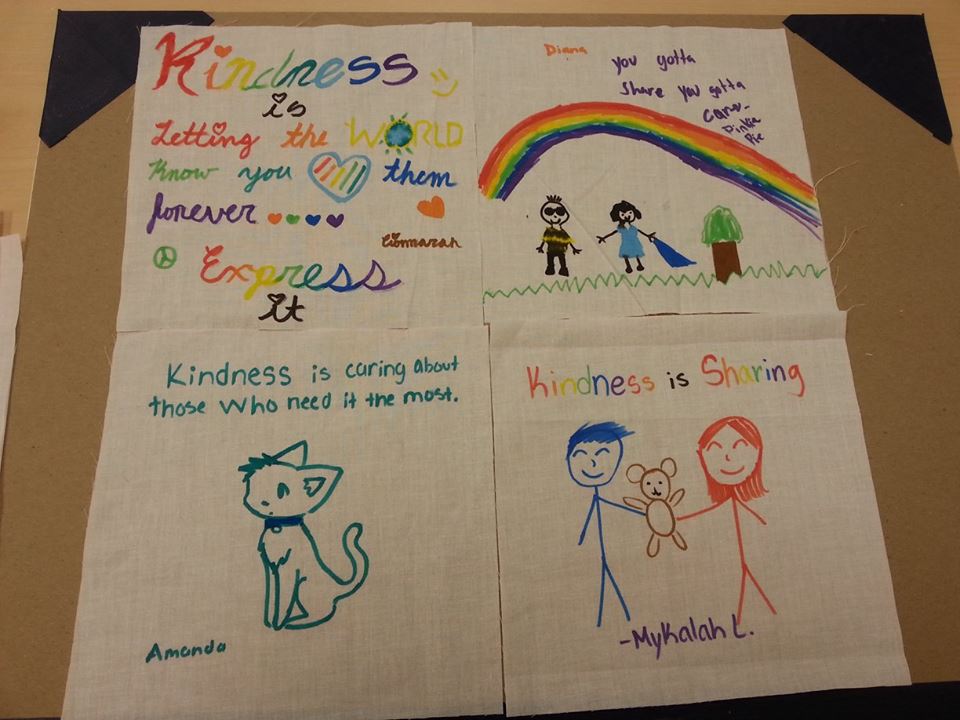
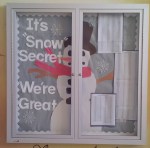
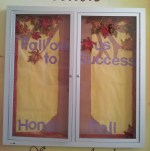
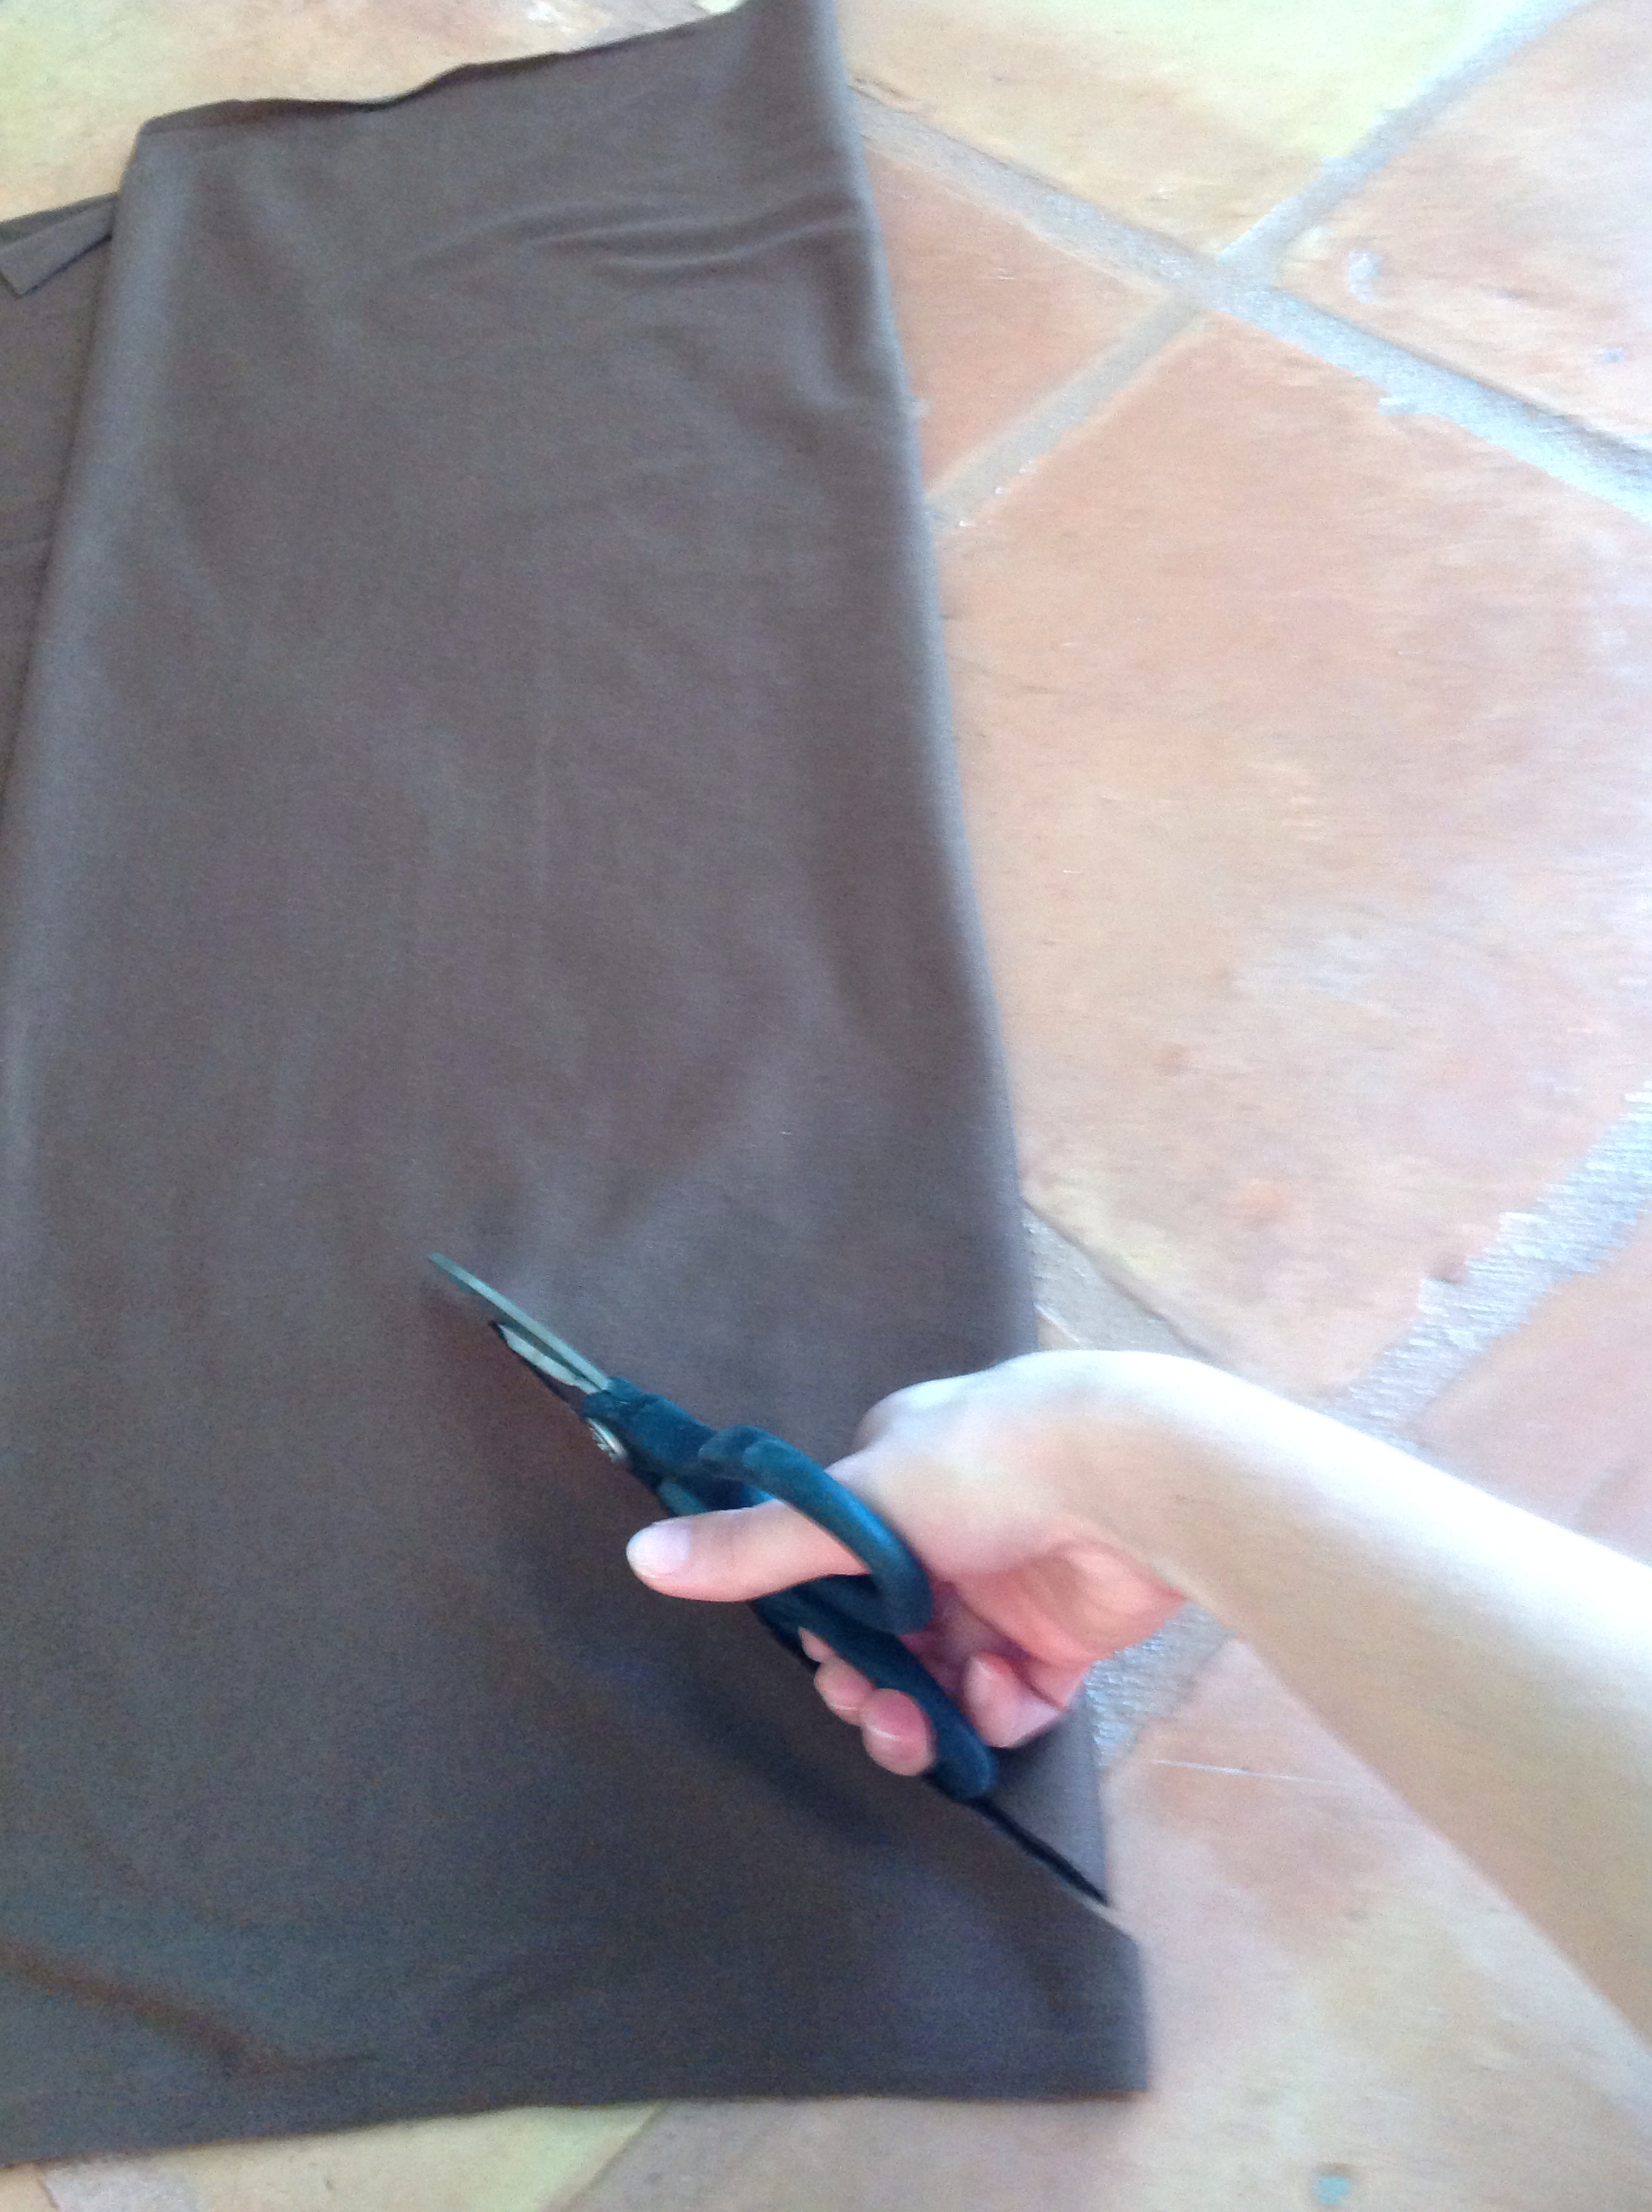
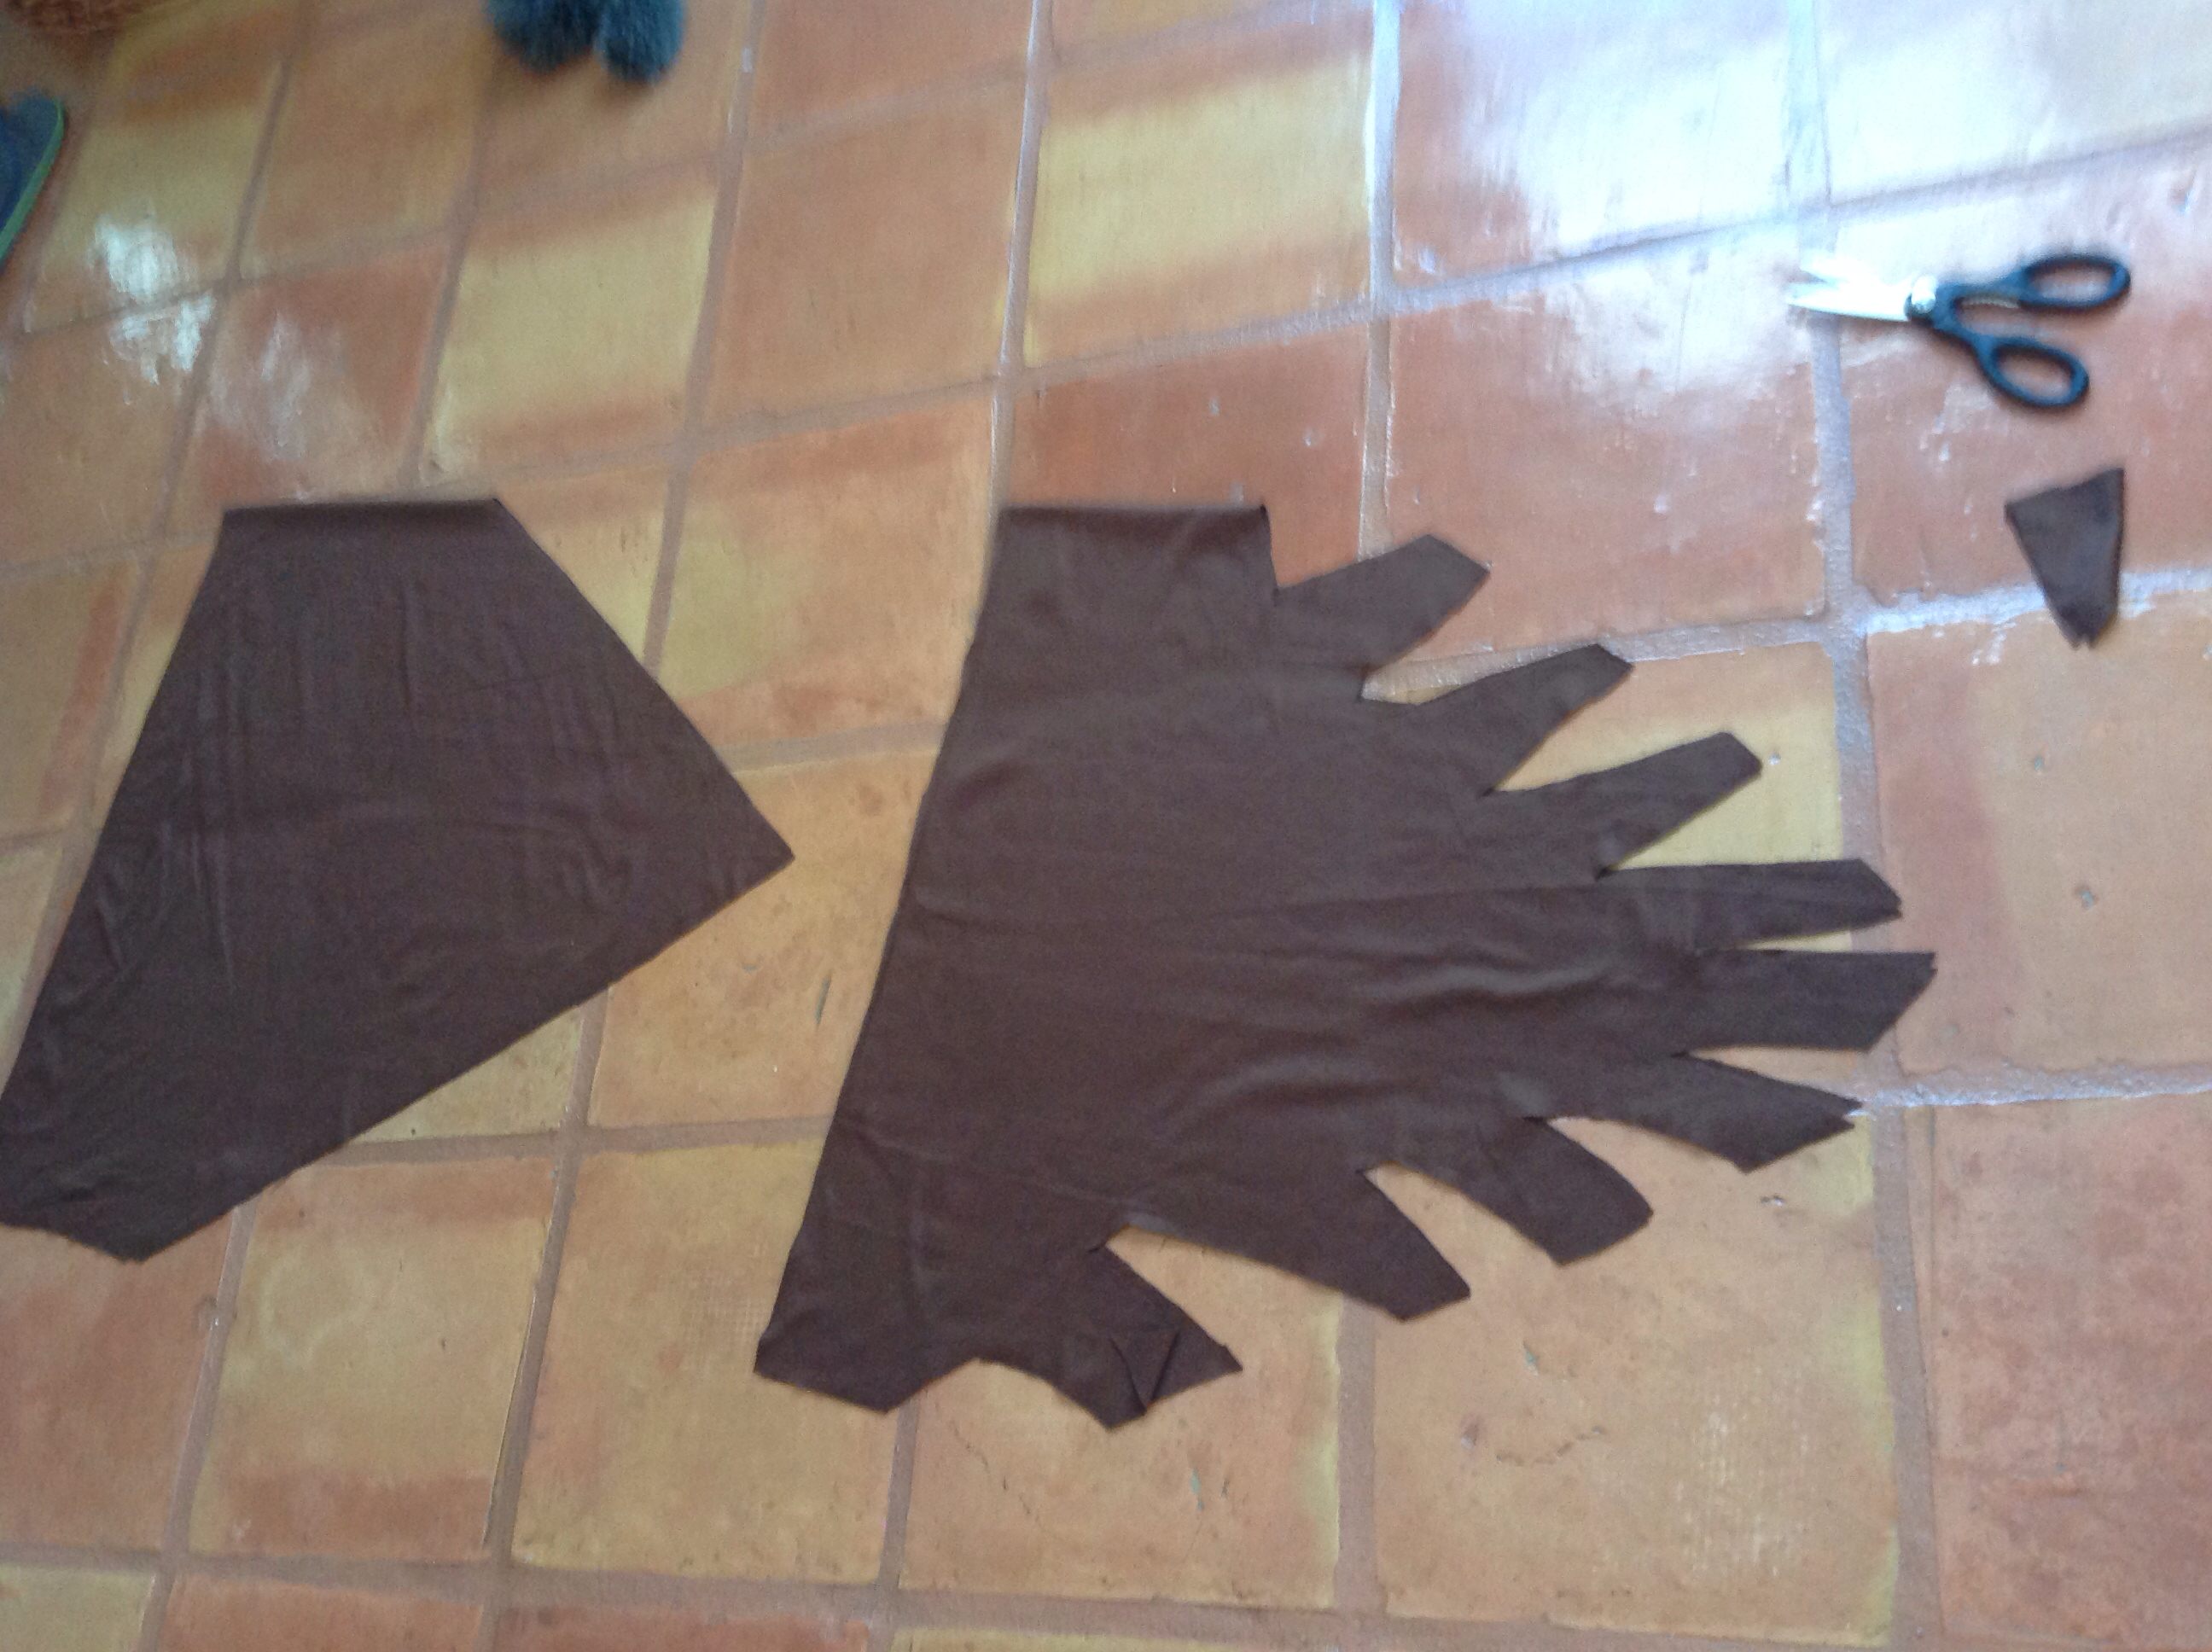
Now that I work at a school and have lots of little munchkins to make things for (and with), I find myself newly inspired to experiment myself. Popcorn “witch hands” for Halloween, pumpkin muffins, “Kindness Quilts”, quirky bulletin boards and decorative cupcakes… I could create an infinite list of projects I’d like to try and I’ll always wonder if I’m having more fun than they are while we work on them together.

Who taught you the value of creativity? Who inspires you now? What new projects are you working on? Please share!!

creativity-picture-quote

Age old Tradition: Turkey Trot 5K costumes

IMG_4022


It’s the most wonderful time of the year again!!!…. time to start thinking about the holidays. My step mother, Jane, has already finished her Christmas shopping (I’m not joking). And although I haven’t even begun to deplete my bank account on useless chotchkies, I have successfully finished making our insanely awesome costumes for the Thanksgiving morning Turkey Trot race….

Ah yes, the age-old tradition of running 5 kilometers while wearing a very politically incorrect Native American costume or brown tutu and crazy turkey hat. I’m pretty sure that the first race was organized by the pilgrims themselves… the same year they initiated Black Friday camp-outs in front of Best Buy and Walmart…

Regardless of the ridiculousness of the whole thing, it’s something my sister and I love doing and have absolutely no plans of stopping despite the embarrassment it causes others. In fact, our bodacious costumes from last year’s event got us featured in the flyer that came in the mail for this year’s race!  We’re dragging my brother-in-law and some friends along this year in full costume for our most outrageous Turkey Trot yet!!

turkey trot

I have very simply taken some cotton t-shirts from the craft store (you can use old ones from your closet and up-cycle them!) and pieced them together with ribbon, rickrack, fabric and dollar store finds to create a family full of pilgrims, Indians and turkeys that would rival the first thanksgiving. Here’s how I did it:

Pilgrims:

Materials:
Black T-shirt
white cotton fabric
ribbon remnants
sewing machine or no-sew iron tape
hot glue gun
lace fringe/ buttons (optional)

Directions:
For Shirt
1. fold a square piece of fabric over to form a rectangle.
2. Cut a half circle from top for neck hole and a slit down center to create two lapels.

pilgrim yolk

3. With hot glue gun, glue the collar onto the black t-shirt. Add bow or button to finish.

pilgrim and hot glue

Skirt/ Apron
1. take any piece of ribbon long enough to be tied around your waist and a large rectangular piece of fabric.
2. pleat the white fabric as you either sew or iron it onto the ribbon.

Bonnet
check out this great site’s simple directions
http://dorcassmucker.blogspot.com/2011/11/easy-pilgrim-costume.html

Indian

Shirt:
1. Take brown shirt and create pattern using rickrack, ribbon and fringe. Attach with hot glue gun.

indian shirt

Skirt:

1. Take a rectangular piece of fabric long enough to be tied around your waist and fold it onto itself.
2. Cut it on an angle from the fold to create a triangle.

indian skirt 2

3. Open triangle and cut out decorative edges.

indian skirt 3

Arm Bands:

1. Hot glue fringe to ribbon

arm bands fringe

2. Sew elastic to ends

arm band elastic